Painting the California Coastline – Part 2

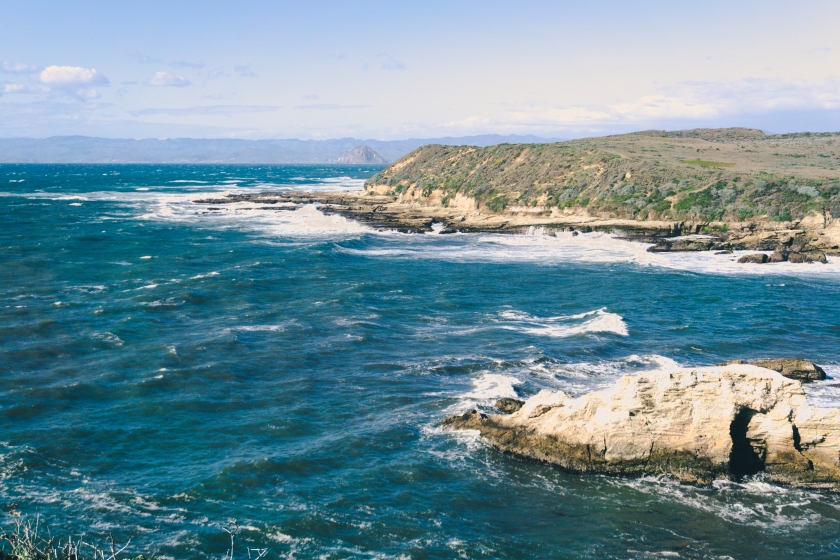
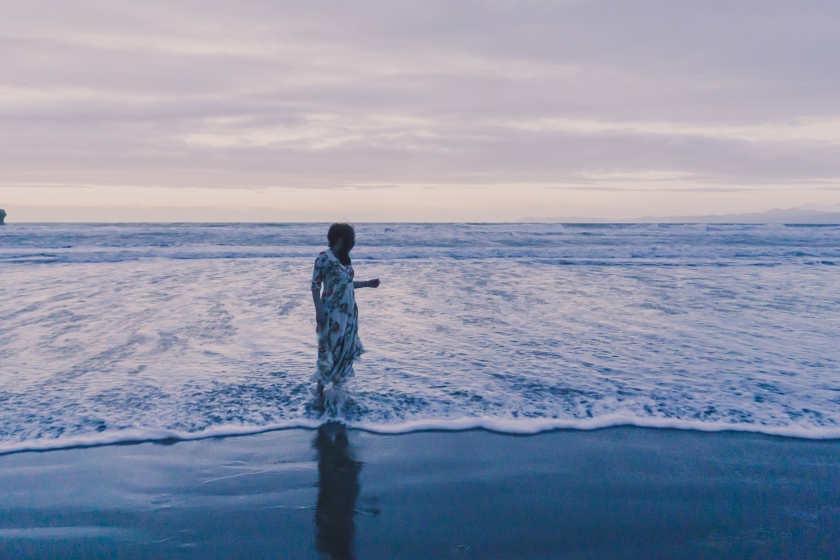
I’m back with another update on my California Coastline art collection! In Part 1, I talked about some of the things that happen before any paint gets on the canvas. Here in Part 2, I’ll show some behind-the-scenes process for how I prepare my canvases.

DSC_0736.jpg

In general, I’ll prepare my canvases with a couple of rounds of priming and sanding. I’ll do this even for canvases I buy “pre-primed” – because I like to get the texture of the cotton to a smoothness I like. It’s just personal preference.

1 – Priming the Canvas

For me, priming is an important step that helps prepare the canvas for oil paint. I use a white acrylic primer that you can find at most craft or art supplies labeled as gesso. Having the primer as the base for my painting creates a continuous seal over the canvas, preventing my oil paints from being absorbed into the canvas over time. The primer will also help prevent fine cracks in the paint surface as the painting ages.

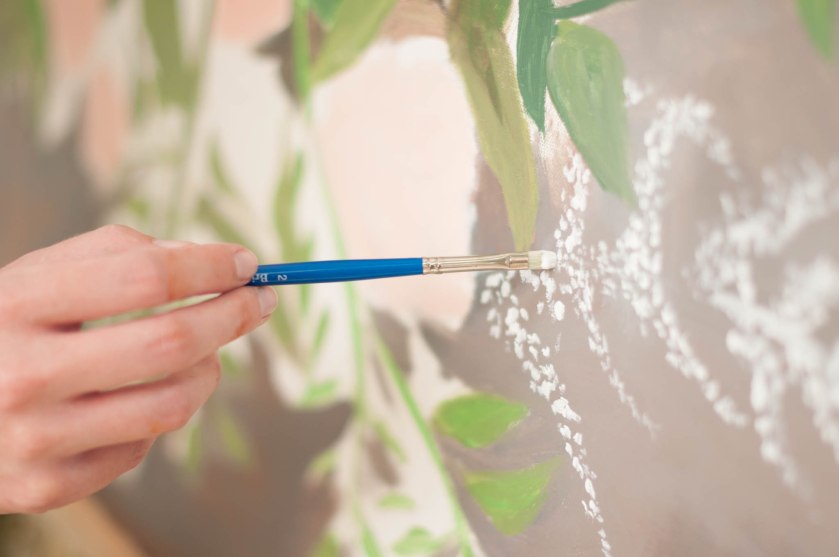
I use a wide brush like the one of the left to spread my white acrylic primer over an entire canvas (including the edges!) as a first layer.

2 – Sanding the canvas

Once the primer is dry (it doesn’t usually take more than 15 minutes), I’ll sand it gently. For sanding, I use a fine grain sandpaper – either 220 or 420 (maybe both!).

DSC02777.jpg

Sanding the canvas between layers of primer helps me achieve the level of smoothness I want – the more layers of primer/sanding, the less texture when it is time to start the painting. I usually do two layers of primer with sanding after each layer because I like to strike that balance of a relatively smooth surface that also still has some tooth to it to grip my paint.


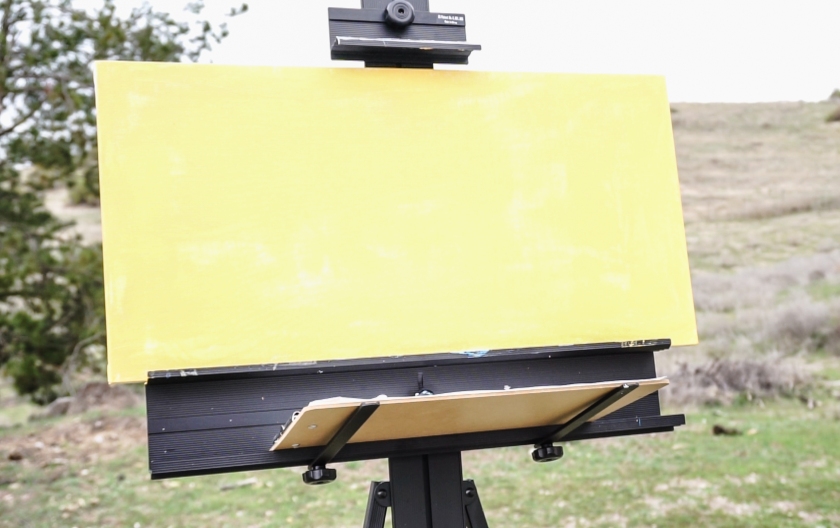
3 – Toning the Canvas

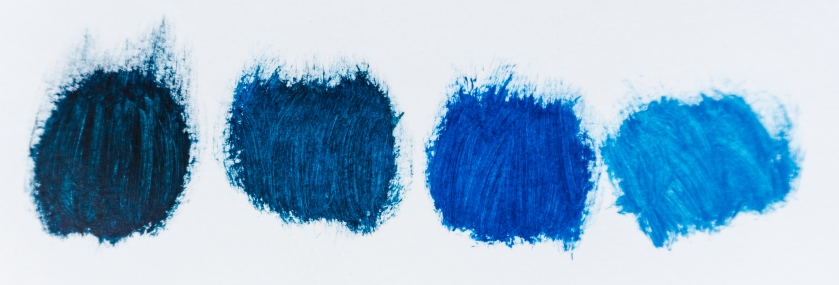
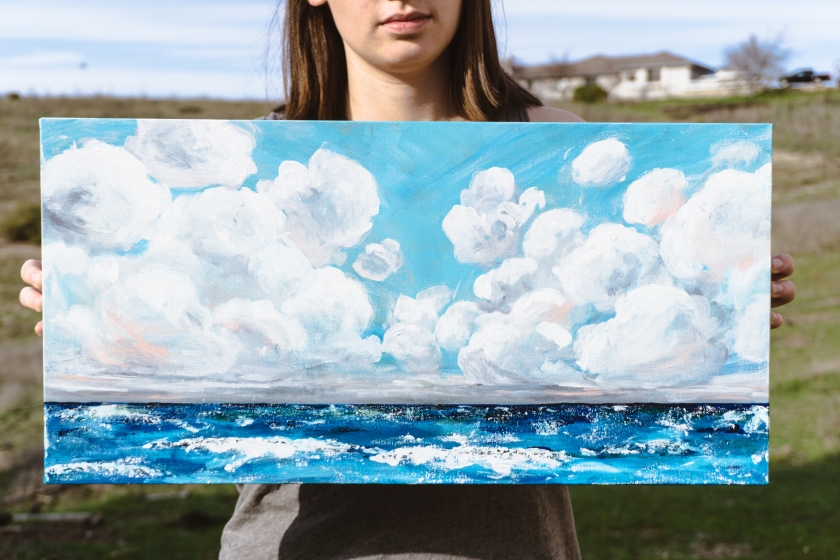
Earth tones are a popular choice for toning canvases – I especially like Raw Sienna or Yellow Ochre. For the ocean scenes I’ve been painting lately, my go-tos have been either Yellow Ochre or Naples Yellow – they give a nice warm feeling to the canvas and compliment my heavy use of blue in the final composition.

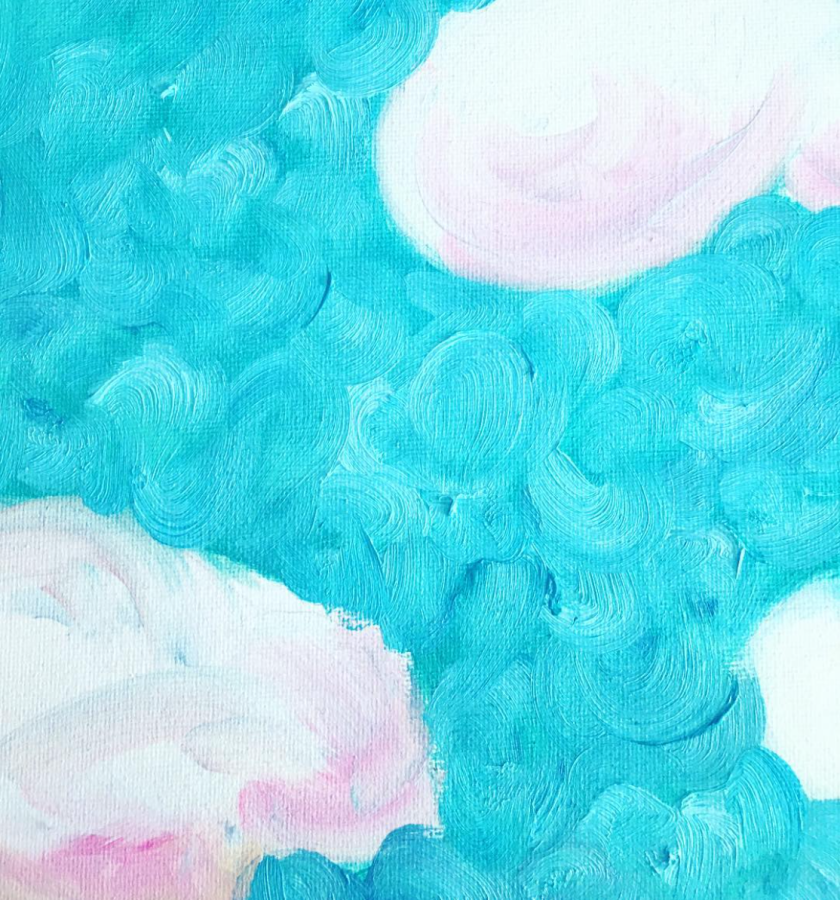
Here is an example of a canvas I toned with Naples Yellow from my recent time-lapse video:

Screen Shot 2018-04-10 at 5.10.47 PM.jpg

Preparing the canvases overall is a step I really enjoy – it helps me get in the zone before painting. It also helps me feel more confident – like I’m setting myself up for success by providing a strong foundation.

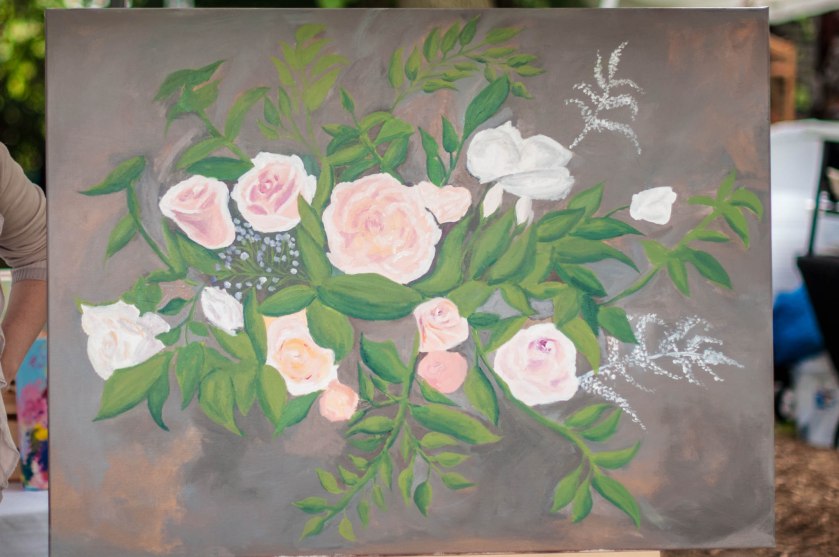
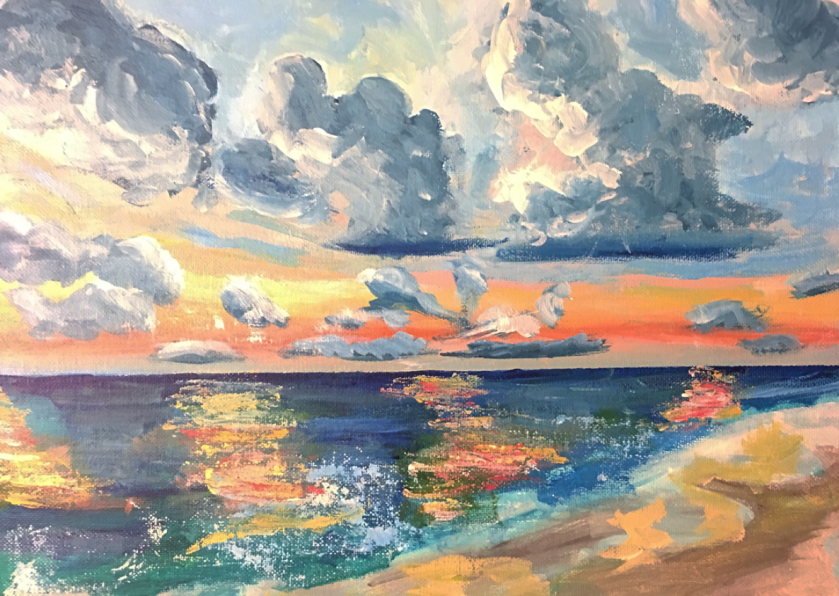
And a quick update on how the collection is coming along — remember the rough sketches from Part 1 where my ideas usually start? Here is one of those alongside how it ended up translating to the canvas:


I love a good before and after. 🙂

-Kate

Painting the California Coastline – Part 1

ACS_0050

I’m working on an art collection inspired by the Central Coast area of California in and around San Luis Obispo county.  While I’ve been living in Morro Bay for a couple of months, I’ve been especially inspired by the ocean and the colors that form where the sky meets the water on the horizon.

I want to share with you guys the behind-the-scenes process. Part 1 here focuses on some of the things that happen before any paint gets on a canvas.

1 – Finding Inspiration

First things first, some inspiration! It’s where the fun starts. 🙂

An early afternoon by Morro Rock…

DSC_0516

A late afternoon hike near Los Osos, CA…

DSC02676.jpg

Dusk on the first not-rainy day after a stormy week in Morro…

DSC02666.jpg

2 – Sketching Forms and Making Plans

When I’m organizing my thoughts about a place, I like to make some quick and rough sketches to play with relative scale, feel, and overall architecture of places I like. Like these:

Spending this time translating the world onto the page helps me decide which direction to take the eventual paintings.

3 – Study the colors

Along with the sketches (and before I start any work on the canvas) I like to play with mixing up colors to discover which tones I like, which hue best captures the feeling I’m trying to convey, and how well colors play together. I end up with a lot of splotches like these:

DSC02754

And alongside the color experiments, I’ll do some just-for-fun/warm myself up paintings that focus on how I want the paints to come together and play off each other. For these I will use either some thick paper or inexpensive canvas boards from Michael’s (great for practicing on when you don’t want to waste a whole canvas!).

Here are a couple of examples of fast practice paintings I did to see how my colors might look in a composition:

Screen Shot 2018-03-27 at 12.37.14 AM.png

(When I work on these color studies, the kinds of questions I ask myself are: does the light seem right? Am I conveying the mood I want? Are the colors balanced?)

Screen Shot 2018-03-27 at 12.38.02 AM

So that’s an overview of starting the painting process! Finding inspiration, sketching out forms and plans, and studying the colors.

In Part 2, I’ll talk about how I am preparing my canvases and I’ll show more of the collection!

And this Thursday, I’ll post a time-lapse of the process for this painting:

DSC02309.jpg

(I just love the clouds in that one.)

Let me know what questions you have in the comments!


Kate


Middleton Festival and Live Painting

Wanted to share some photos from this past weekend at the Middleton Good Neighbor Festival! I also made a time-lapse/video of the live painting I did on Sunday – you can check it out at the end of this post.

I spent Saturday painting miniature watercolor flowers/cacti to hand out….

DSC_5181

And on Sunday, I did some live painting for a 30″ x 40″ large-scale floral bouquet. I started off by sketching out my plan on the canvas and filling in the main blocks of color….

Then added more and more details….

DSC_5352
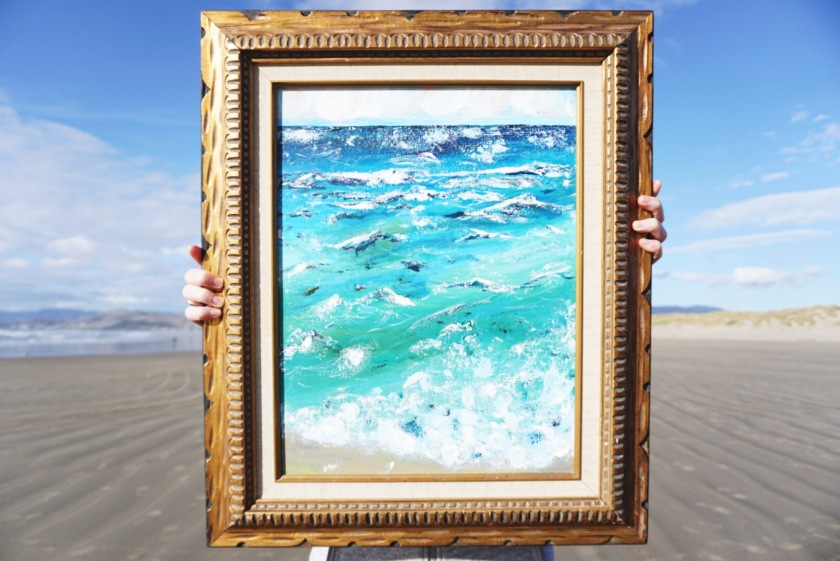
And ended up here by the end of the day:

DSC_5409

Had lots of fun painting outside in the fresh air and talking some folks through the process!

Here’s the time-lapse of the painting, hope you enjoy it!